Elementos
Elementos ajudam a estruturar e apresentar conteúdo de forma eficaz. Eles variam desde componentes baseados em texto como títulos <website/elements/titles>, listas <website/elements/lists> e destaques de texto <website/elements/text_highlights> até elementos interativos como botões <website/elements/buttons> e links <website/elements/links>. Elementos visuais como imagens <website/elements/images>, ícones <website/elements/icons>, vídeos <website/elements/videos> e animações <website/elements/animations> também podem ser adicionados para melhorar a apresentação e organização do conteúdo.
Para adicionar ou modificar um elemento do site:
Navigate to the relevant website page and click on Edit.
Click the section on the page where you want to add or modify an element.
Make the necessary changes.
Click on Save.
Títulos
Títulos definem cabeçalhos e organizam o conteúdo do site em diferentes níveis para clareza e estrutura. Para inserir um título, digite /title, escolha o estilo de cabeçalho (Heading 1, Heading 2 ou Heading 3) e digite o texto.
Botões
Botões são elementos interativos que permitem vincular a outra página ou a uma âncora da página. Para inserir um botão:
Type /button.
Enter the button's label in the Link Label field.
Add the URL or Email. Type / to search for a page and # to link to an anchor.
Set the Style, Size, and Layout to define the button's appearance.
If needed, toggle the switch to open the linked page or anchor in a new tab.
Click Apply to save changes.
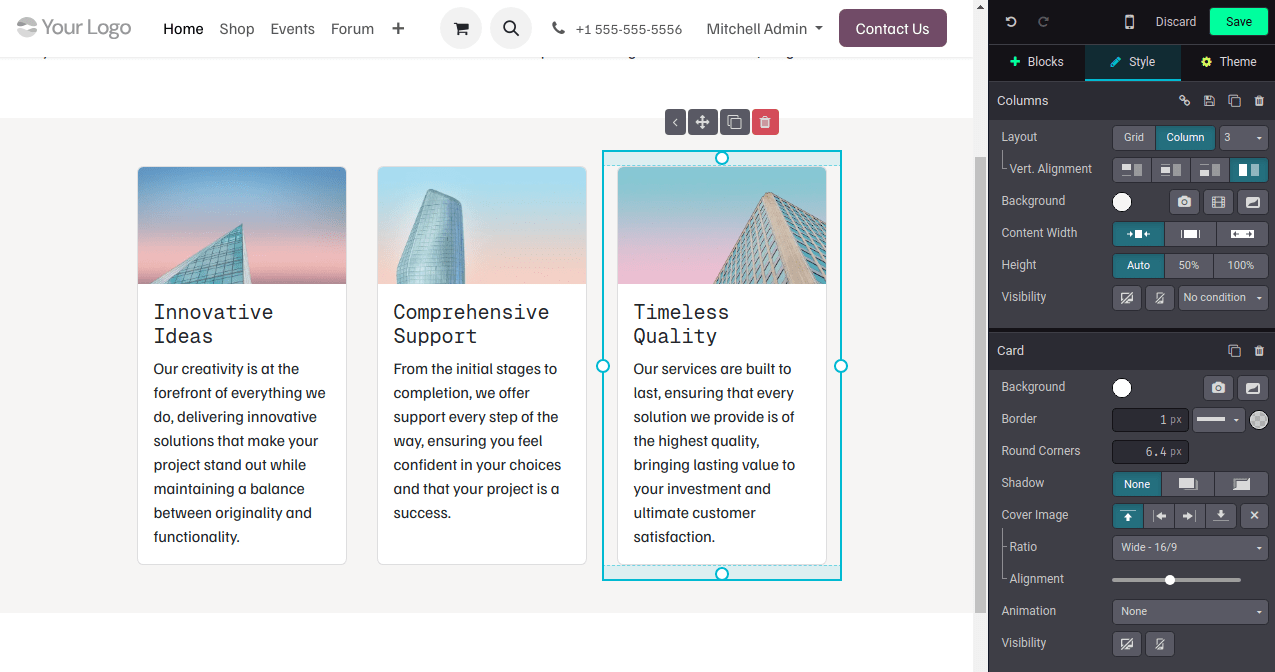
Imagens
Para inserir uma imagem:
Type /image.
Search the Unsplash database or click Upload an image to choose a file from your local images.
Click Add.
To customize the image, click on the image and edit the options in the Image section of the website editor. For example:
Replace the image.
Define an alt tag in the Description field.
Enter a title tag in the Tooltip field. This text will appear when visitors hover their mouse over the image.
Add a Shape; some shapes also allow for color customization.
Adjust the image's Width, e.g., to improve performance. A smaller size may be suggested if it is sufficient for display.
Resize the image using the Transform tool.
Adjust the Padding to add space (in pixels) around the image.
Etc.
Vídeos
Para adicionar um vídeo, digite /video, insira a URL e ative as opções desejadas:
Autoplay: to automatically play the video when the page is accessed. The video is automatically muted by default.
Loop: to play the video on a loop.
Hide player controls
Hide fullscreen button
Start at: to define the timestamp where the video should start, in MM:SS format.
Ícones
Para inserir um ícone, digite /image, vá para a aba Ícones, selecione um ícone e clique em Adicionar. Para modificar um ícone, clique nele e use a seção Ícone do editor de website para personalizar opções, como Cor, Tamanho, Animações <website/elements/animations>, Forma, etc.
Links
Links são usados para conectar diferentes páginas e recursos, orientando visitantes e melhorando a navegação. Para adicionar um link, digite /link, então, no pop-up que se abre, insira o Rótulo do link e adicione a URL ou Email. Digite / para pesquisar uma página e # para vincular a uma âncora <website/building_blocks/anchor>.
Listas
Listas ajudam a organizar o conteúdo de forma clara, tornando as informações mais fáceis de ler e melhorando a estrutura das páginas web. Digite /list e escolha entre três tipos diferentes de listas: Listas com marcadores, Listas numeradas ou Listas de verificação.
Destaques de texto
Destaques podem ser adicionados a títulos e texto usando a seção Texto em linha do editor de website. Para adicionar um destaque:
Select the text or title you want to highlight.
In the website editor, click on Highlight.
Select the highlight style.
Modify its Color.
Choose its Thickness.

Animações
Animações são usadas para adicionar movimento a blocos de construção e elementos de website como imagens e texto. Três tipos de animação estão disponíveis: Ao rolar, Ao aparecer e Ao passar o mouse (apenas para imagens).
Para adicionar uma animação a um elemento de website:
Click on the element.
In the website editor, go to the relevant section for the element (e.g., Button, Column, Inline Text, etc.).
In the Animation field, select the desired animation type.
Customize the animation settings as needed. Available options vary based on the selected animation type.
Animações ao rolar
Para animações ao rolar, é possível:
Choose In to add the animation when the element enters the screen and Out to add it when it leaves the screen.
Select an Effect.
Choose the Direction of the effect.
Adapt the Intensity of the effect.
Define the Scroll Zone, where the first value represents the percentage of the screen shown when the effect starts, and the second value represents its percentage at the end.
Animações no aparecimento
Para animações no aparecimento, é possível:
Choose among different effects.
Choose the Direction of the effect.
Pick a Trigger option to define when the animation occurs: either the First Time only or Every Time.
Adapt the Intensity of the effect.
If you want the animation to be triggered after a number of seconds, define this number in the Start After field.
Choose a Duration for the animation.
Animações ao passar o mouse (apenas para imagens)
Animações On hover podem ser adicionadas a imagens <website/elements/images>. Você pode escolher o Effect da animação, bem como a Color e a Stroke Width.